This page will explains the basics you need to set up a Send Email node in a Cognigy.AI flow.
Add Send Email Node to Flow
In your flow click on + to open the mask to add nodes. Navigate to By Function in the mask and then either Message or Service to find the Send Email node. Click on it to add it to the flow.
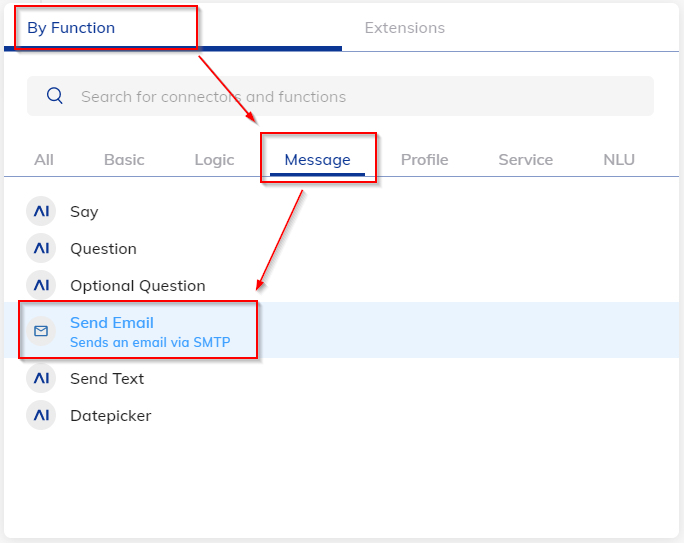
Figure 1: How to find the Send Email node
When you click on the Node the Edit Node settings will appear which look like this:
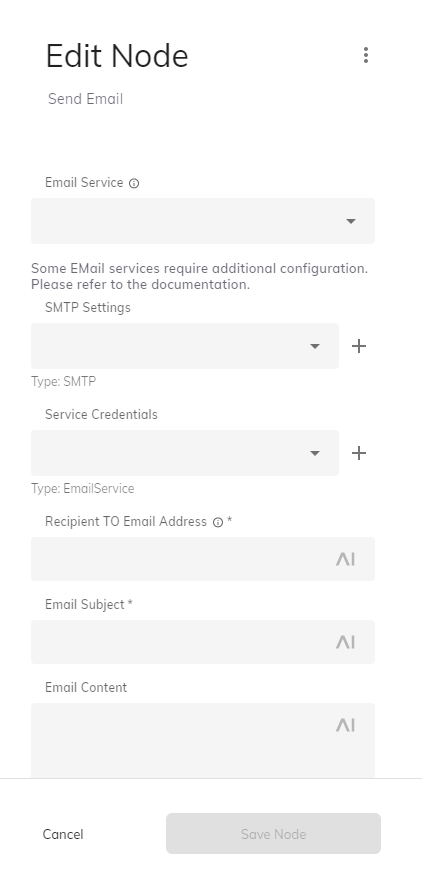
Figure 2: Edit Node setting for Email Node
Let's go through the most important settings one by one.
Adding an Email Service
Adding a Standard SMTP Service
The Cognigy.AI Node supports a simple setup for a multitude of Email Services. To see a list of these services click on the small arrow in the Email Services field.
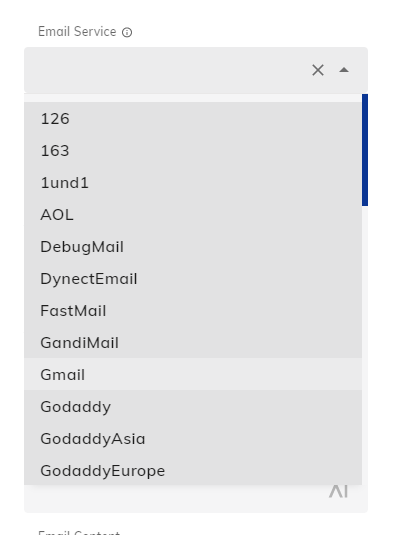
Figure 3: A list of common Email services with SMTP functionality
After selecting your email service you can then add the credentials by clicking on the + next to service credentials.
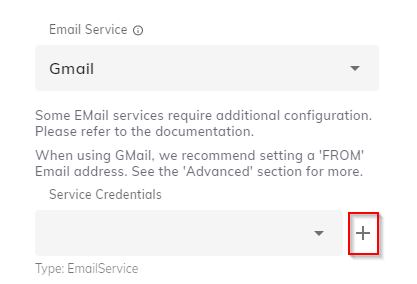
Figure 4: How to add credentials
After clicking on + a new mask will appear where you can enter the username and password you use to access your email service.
The information field Connection Name is chosen by you and is used to clearly identify the connection.
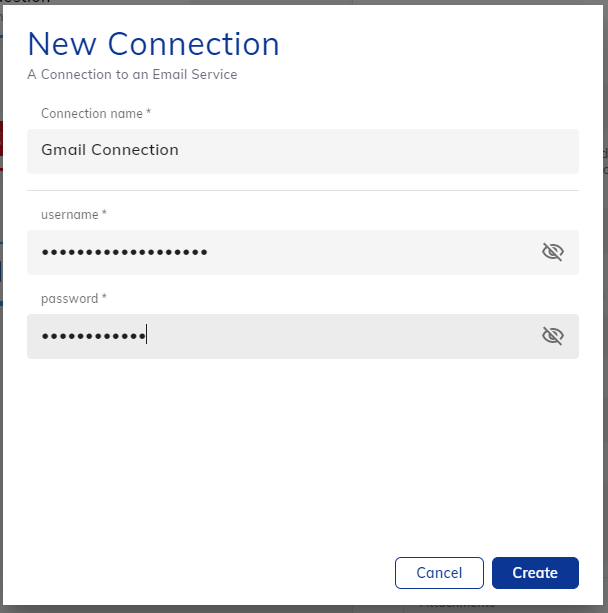
Figure 5: Email credentials mask
Click create to save the save the connection information.
Allowing SMTP connection with external apps from your email service
Many email services don't easily allow external applications to send emails without having to allow this. For example, in Gmail you may need to allow Less Secure App Access or if you have 2-Step-Verification activated you will have to Create an App Password and enter that instead of the normal password you use to sign in.
Please contact your email service provider if this seems to be the case.
Adding SMTP Services Not in the List
If you can't find your email service in the list you can add any other email with SMTP functionality by scrolling to the bottom of the Email Service list and choosing Other SMTP Service.
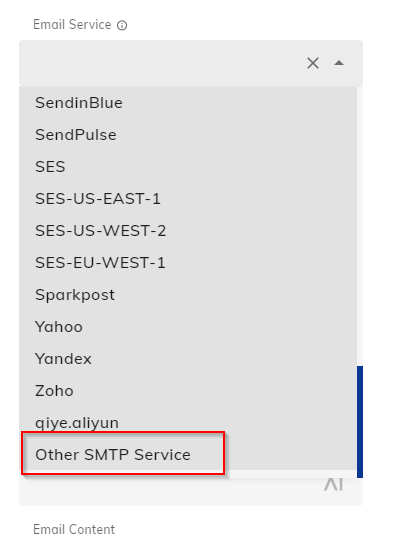
Figure 6: Where to find Other SMTP Service option
The New Connection mask will also have additional fields.
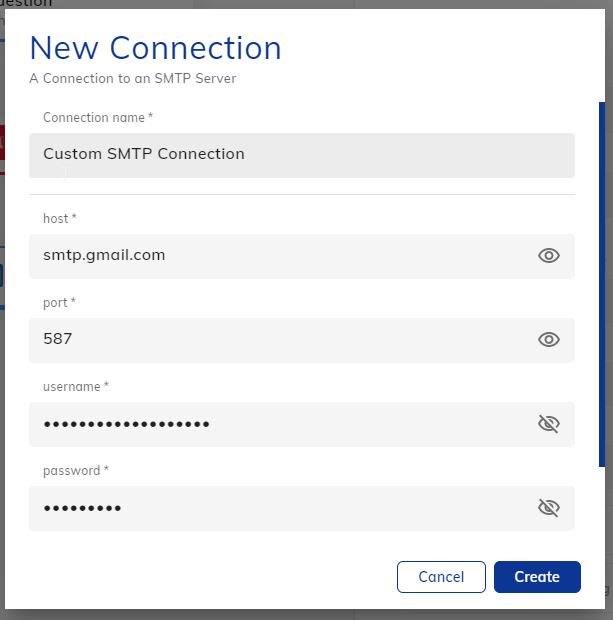
Figure 7: Connection settings for Other SMTP Service option
Adding Content to the Email
After setting up the connection you can now add content to the email in the node.
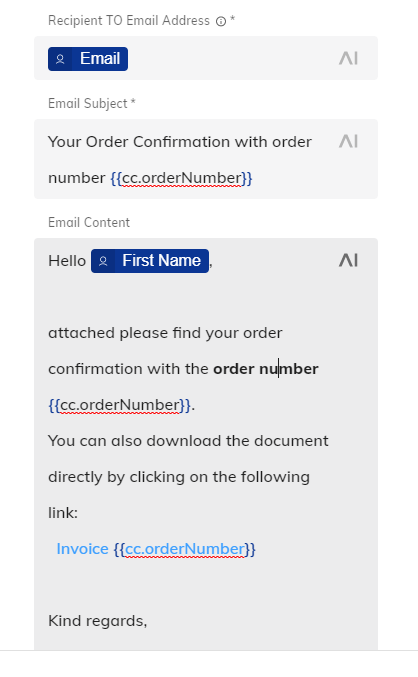
Figure 8: Content of email
As you can see you can fill the fields with Tokens, CognigyScript or plain text. In addition, by highlighting text in the body of your email you can change the font to be bold, italicized or underlined.
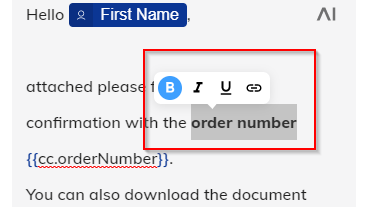
Figure 9: Text options
By clicking on the chain symbol you can also add a hyperlink. The fields in this mask are also compatible with tokens and CognigyScript

Figure 9: Hyperlink options
You can also add a URL with HTML:
<a href="https://www.cognigy.com/">Cognigy.AI Low Code Conversational AI</a>
Adding Attachments
It might be the case that you want to add attachments to the email. You can find the settings to enter this information under the Attachments section. By clicking on the field Email Attachment will see a list of options for how to add your attachment.
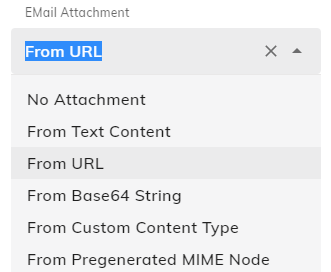
Figure 9: Hyperlink options
In this example we added the attachment via URL. As you can see these fields are also compatible with CognigyScript and Tokens.
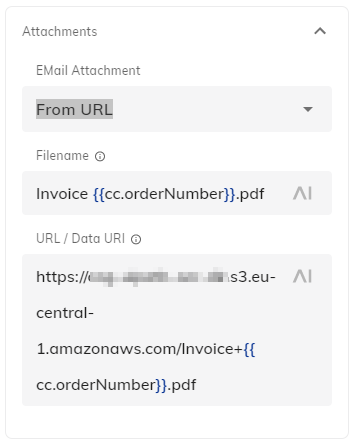
Figure 10: Hyperlink options
Results Storage and Error Handling
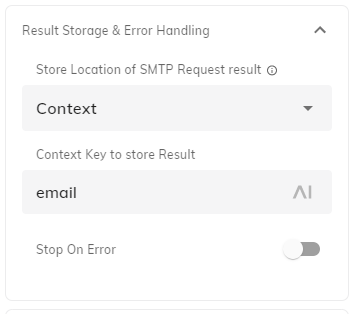
Figure 11: Results storage options
Results storage is useful when testing your Agent to see if the email was sent successfully. You can decide whether the results should be saved in the Context, Input or decide not to save the information at all.
If the switch Stop On Error is switched on the flow will stop if the mail cannot be sent successfully.
The results can help you see if everything is running smoothly.
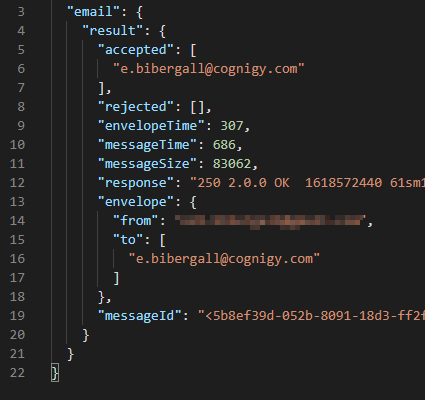
Figure 12: Example of an email sent successfully
Adding reipients CC/BCC or Sending from Custom Email Address
In the Advanced section you can add other email addresses CC and BCC as well as setting a custom FROM and Reply to Email Address.
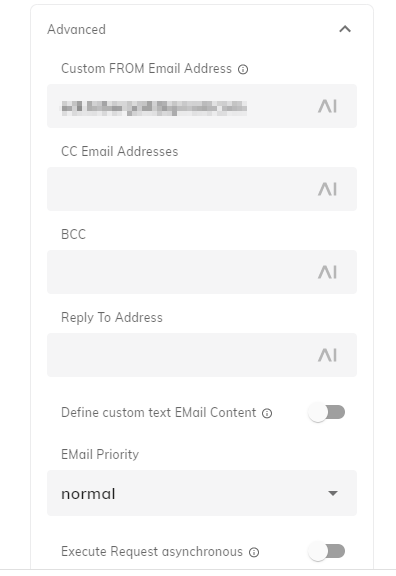
Figure 13: Advanced Settings
The Define custom text EMail content allows you to add a plain text version of your email for email servers or devices which aren't able or allowed to process emails with HTML content.
Execute Request asynchronous determines if the flow should wait for the email to be sent before continuing on after the Send Email node or if it should continue without waiting.
Now that you have finished setting everything up you can now test your flow and see if everything has been sent successfully.
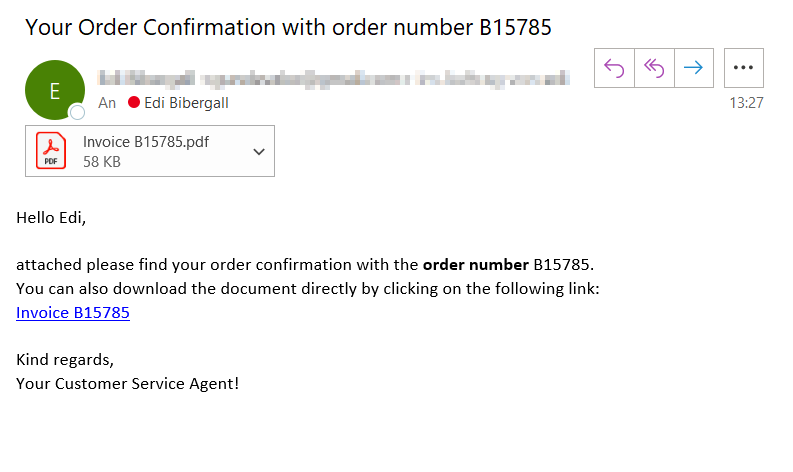
Figure 14: Example of an Email sent from the Cognigy.AI flow
Comments
0 comments