Within our Cognigy.AI platform you're able to connect your Cognigy resources to your LINE channel by using our Line Endpoint integration.
Inject & Notify
You can use the Inject and Notify functionality with this type of Endpoint. For further details see the Inject & Notify Documentation page.
Description
With the implementation of a LINE Endpoint you can easily connect your LINE Bot with Cognigy.AI.
This article covers the necessary steps for connecting your virtual agent to LINE via a LINE Endpoint. If you require more information about assigning a Flow to the Endpoint and setting up the Data Management, see Endpoints.
LINE@ Account
You'll need a LINE Developer account to successfully use the LINE Endpoint integration.
Three Step Deployment Process
- Email Address Registration for a Line@ Account
- Create a LINE Channel for the usage of the Cognigy Endpoint on LINE Developers
- Creation and Configuration of a LINE Endpoint within Cognigy.AI
1. Email Address Registration
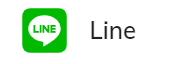
Before you can login as a Line developer, you need to setup a Line account in your smartphone and add an email address to it.
Go to the accounts settings in the LINE mobile app (Settings/Account). Tap on Email Address to add an email address and a password to your account.
Line Account Settings
2. Create a LINE Channel
Requirements
✔ LINE Account
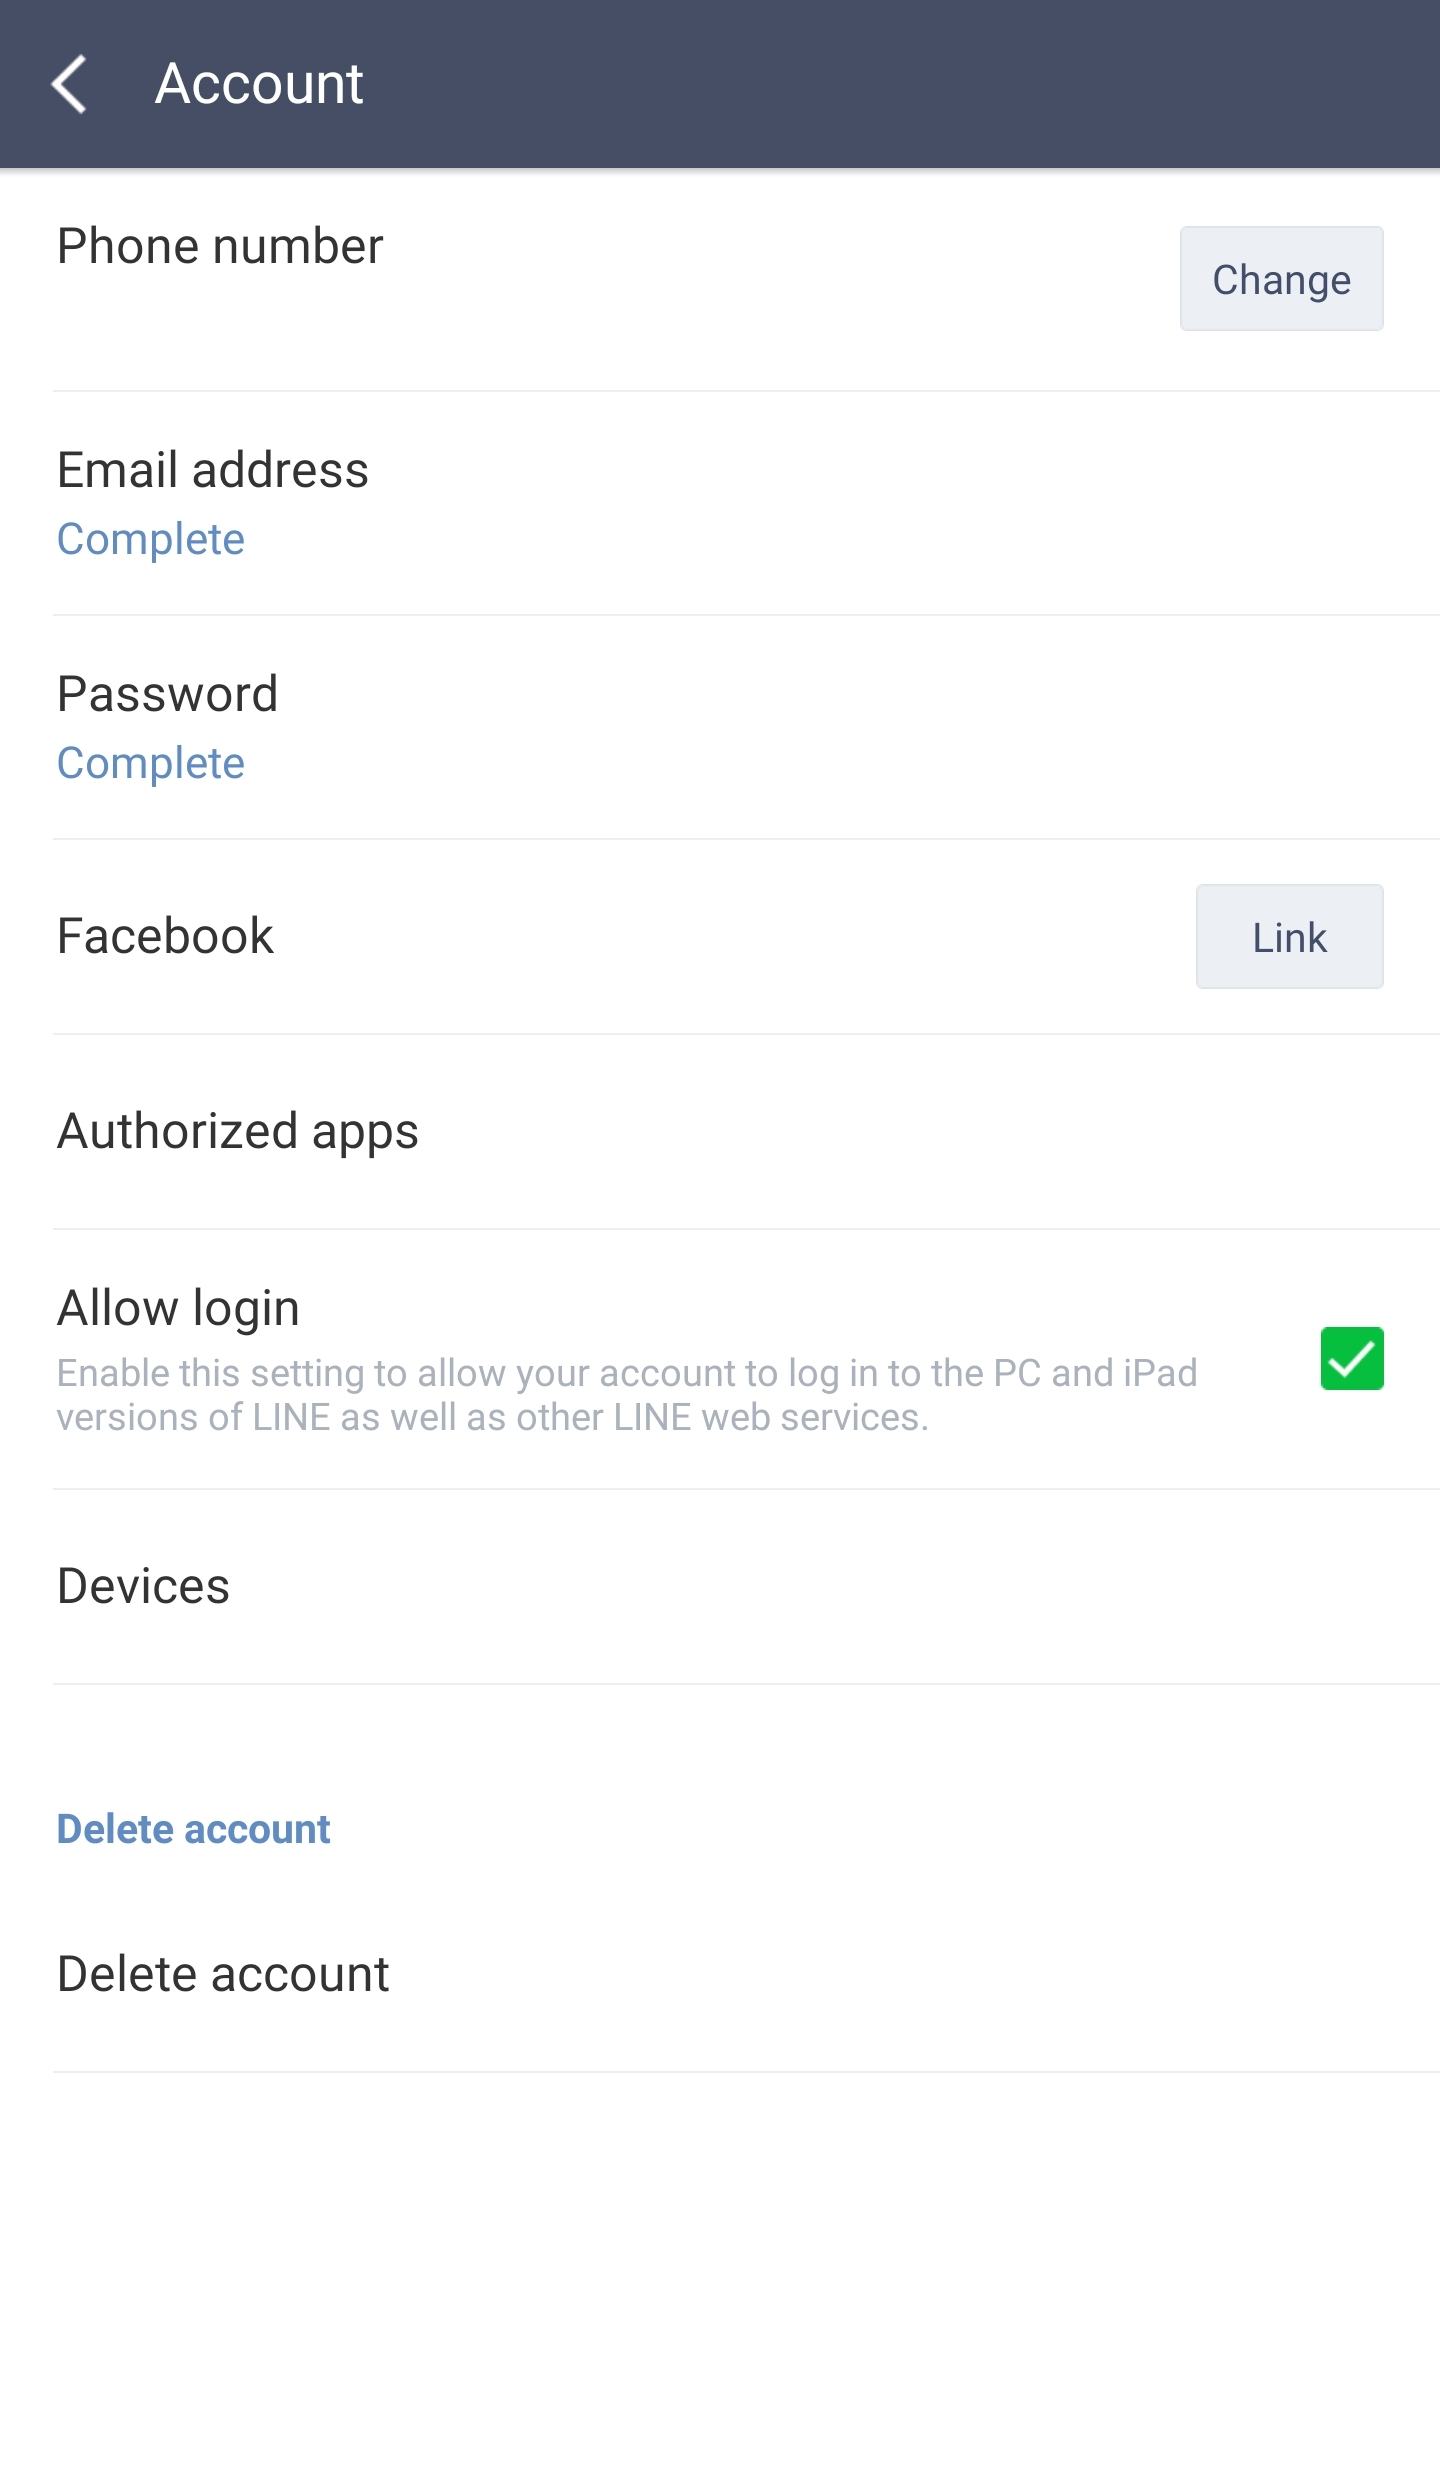
2.1 Login as a LINE Developer
Go to LINE Developers. In the upper right corner you'll find the login button (see Figure 2.1) which leads you to the login process with your Email Protected Account. Use the email address and password you set up in your smartphone app.
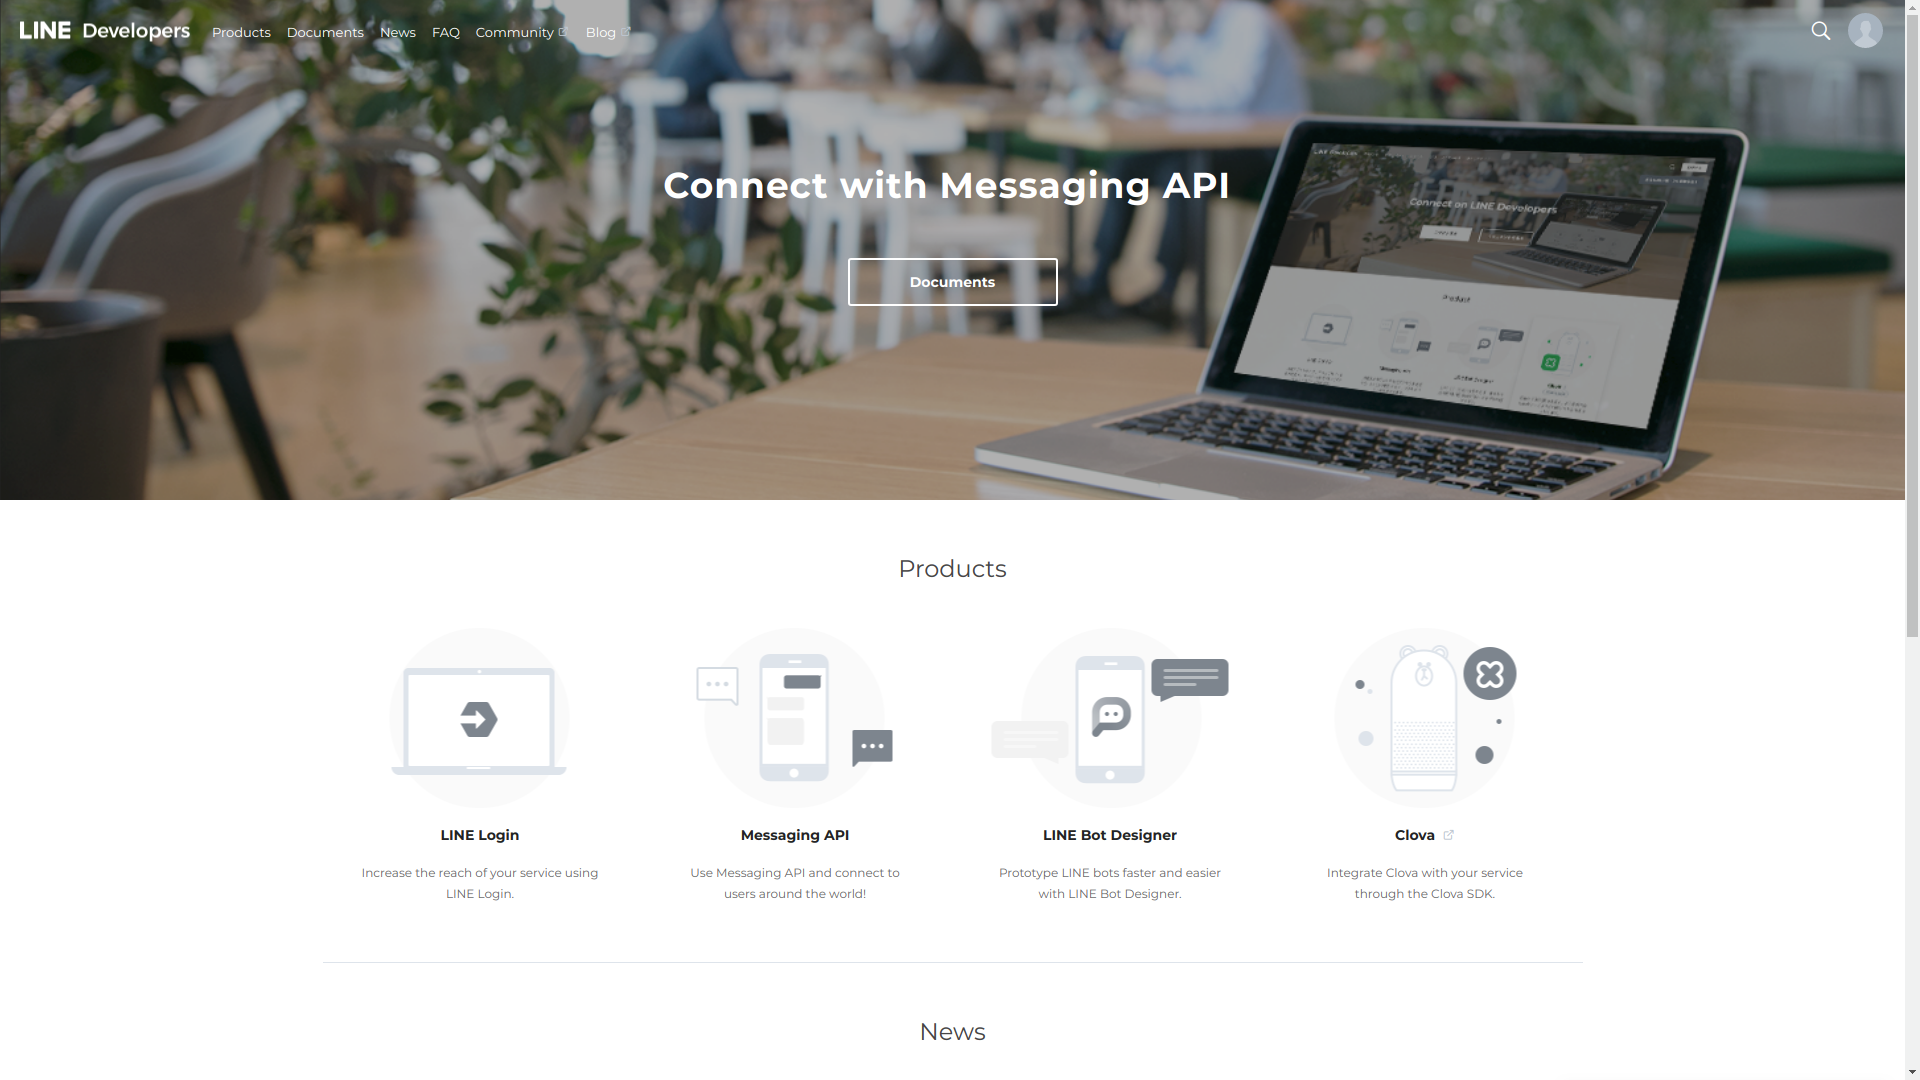
Figure 2.1: LINE Developers
2.2 Create a LINE Provider
After a successful login, your account overview will be displayed (see Figure 2.2). Click on the Create New Provider button to start the creation process. Within this process you just need to enter a valid name for your provider.
Figure 2.2: @LINE Account Overview
2.3 Create a LINE Channel
After you've created a LINE Provider in Step 2.2 you're able to add a channel to this provider. When you go to your provider you'll see three cards for creating a channel. Choose the Messaging API card (see Figure 2.3.1).
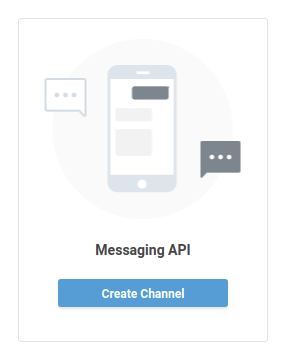
Figure 2.3.1: Messaging API
Fill in the required information for the channel creation process and click confirm.
After successfully creating the channel you'll be redirected to your account overview where your provider is listed with the newly created channel (see Figure 2.3.2).
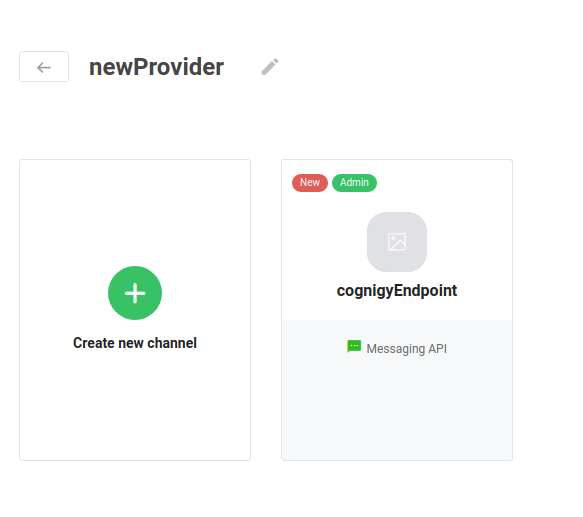
Figure 2.3.2: Provider Overview
2.4 Get the Channel Credentials
After clicking on the channel of your choice, an overview of all the information about the channel is displayed.
You will need the following values:
- Channel Secret (see Figure 2.4.1)
- Channel Access Token (see Figure 2.4.2)

Figure 2.4.1: Channel Secret

Figure 2.4.2: Channel Access Token
You can store these credentials in a text file or leave the browser tab open. You'll need them for your LINE Endpoint within Cognigy.AI.
2.5 Disable Auto-Reply Messages
In your LINE channel settings scroll down to the Using LINE@ features section. There you have to disable the Auto-Reply Messages feature, so our endpoint can work properly (see Figure 2.5).*

Figure 2.5: Auto-Reply Message Section
3. Creation and Configuration of the LINE Endpoint
Location: Cognigy.AI
Requirements
✔ LINE Channel Access Token
✔ LINE Channel Secret
3.1 Create a LINE Endpoint
Firstly, you must create an Endpoint of the type LINE (see Figure 3.1). To do this, navigate to the Endpoints menu, found under Deploy in the resources panel on the left side of the Cogngiy.AI UI. Select "+ New Endpoint", give the endpoint a name and select LINE from the available options.
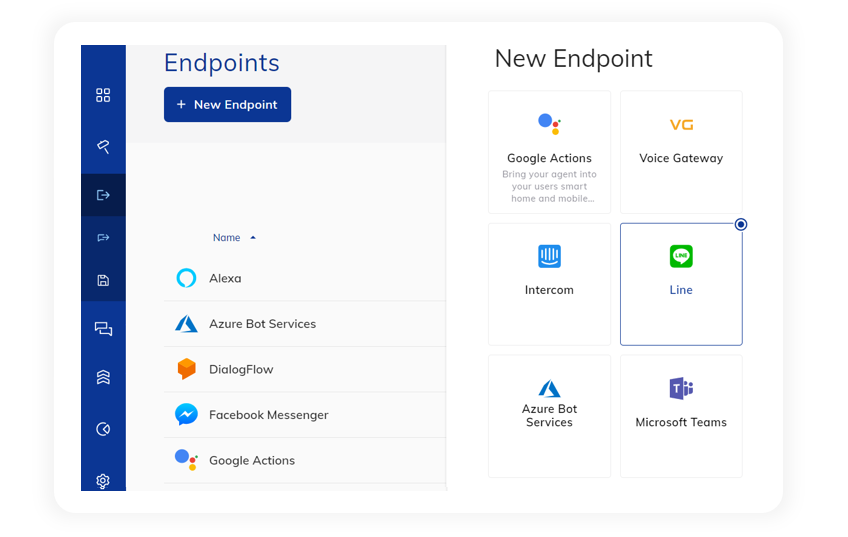
Figure 3.1: LINE Endpoint Creation
3.2 Configure the LINE Endpoint
Expand the LINE Setup panel (see Figure 3.2) at the bottom of the LINE endpoint settings menu and paste the saved channel access token and channel secret (Step 2.4) into the corresponding fields.
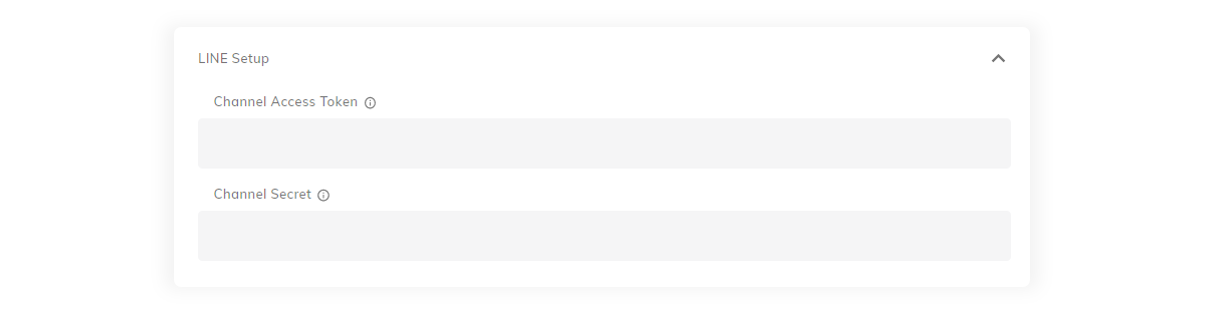
Figure 3.2: LINE Setup
3.3 Get the Endpoint URL
Move to the top of the Endpoint Configuration menu and copy the Endpoint URL which is displayed above the General Settings (see Figure 3.3).
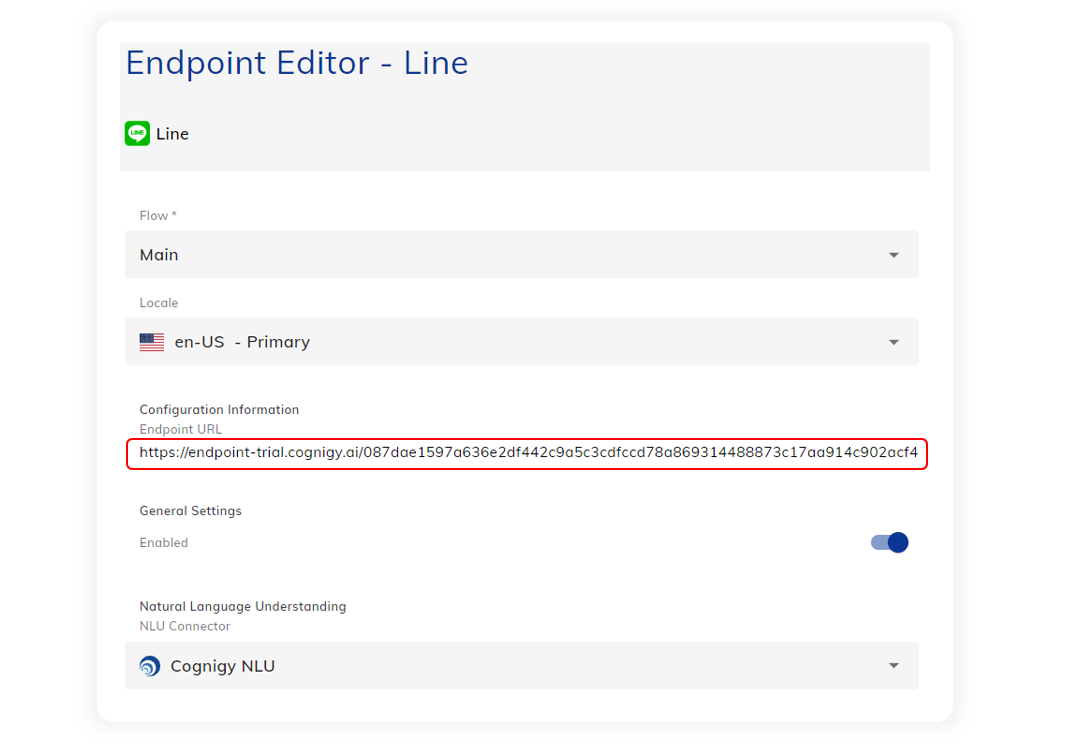
Figure 3.3: LINE Endpoint General Settings
Final Step: Connect Your LINE Channel to the Endpoint
Requirements
✔ Endpoint URL
Go to your LINE Channel that you've created in Step 2.3. Scroll down to the Messaging settings section (see Figure 4.1).
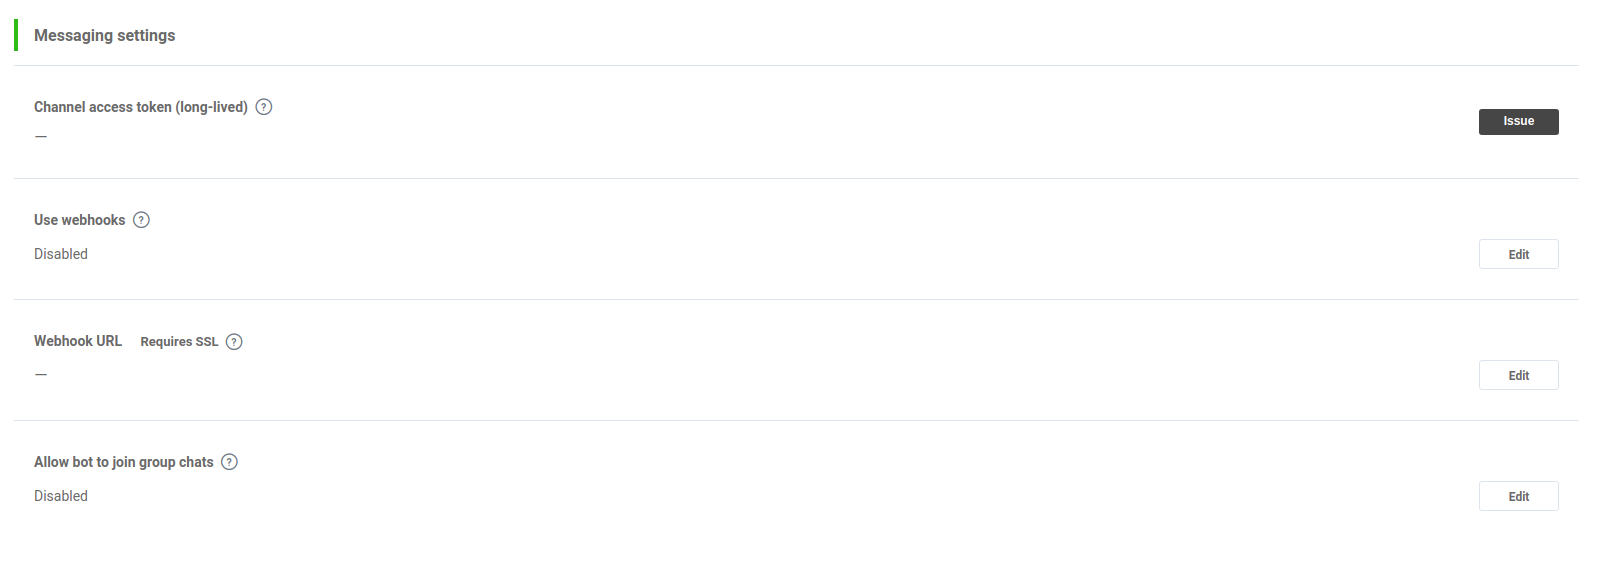
Figure 4.1: Messaging Settings Section
There you have to edit two settings:
- Change Use webhooks to enabled.
- Enter the Endpoint URL you got in Step 3.3 to the Webhook URL field.
Requirement
Make sure that you enable webhooks, else you won't be able to talk to your Cognigy.AI endpoint.
You should be all set up to use the LINE Endpoint you've created with a Flow of your choice.
To test your channel, scroll to the bottom of the channel settings where you can find a QR code (see Figure 4.2). Use your smartphone LINE app to scan this QR code and add your channel. Send a message to your channel to test it.
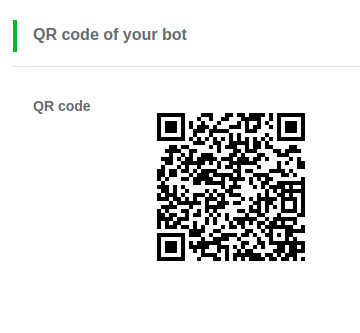
Figure 4.2: QR code to test your channel
Comments
0 comments